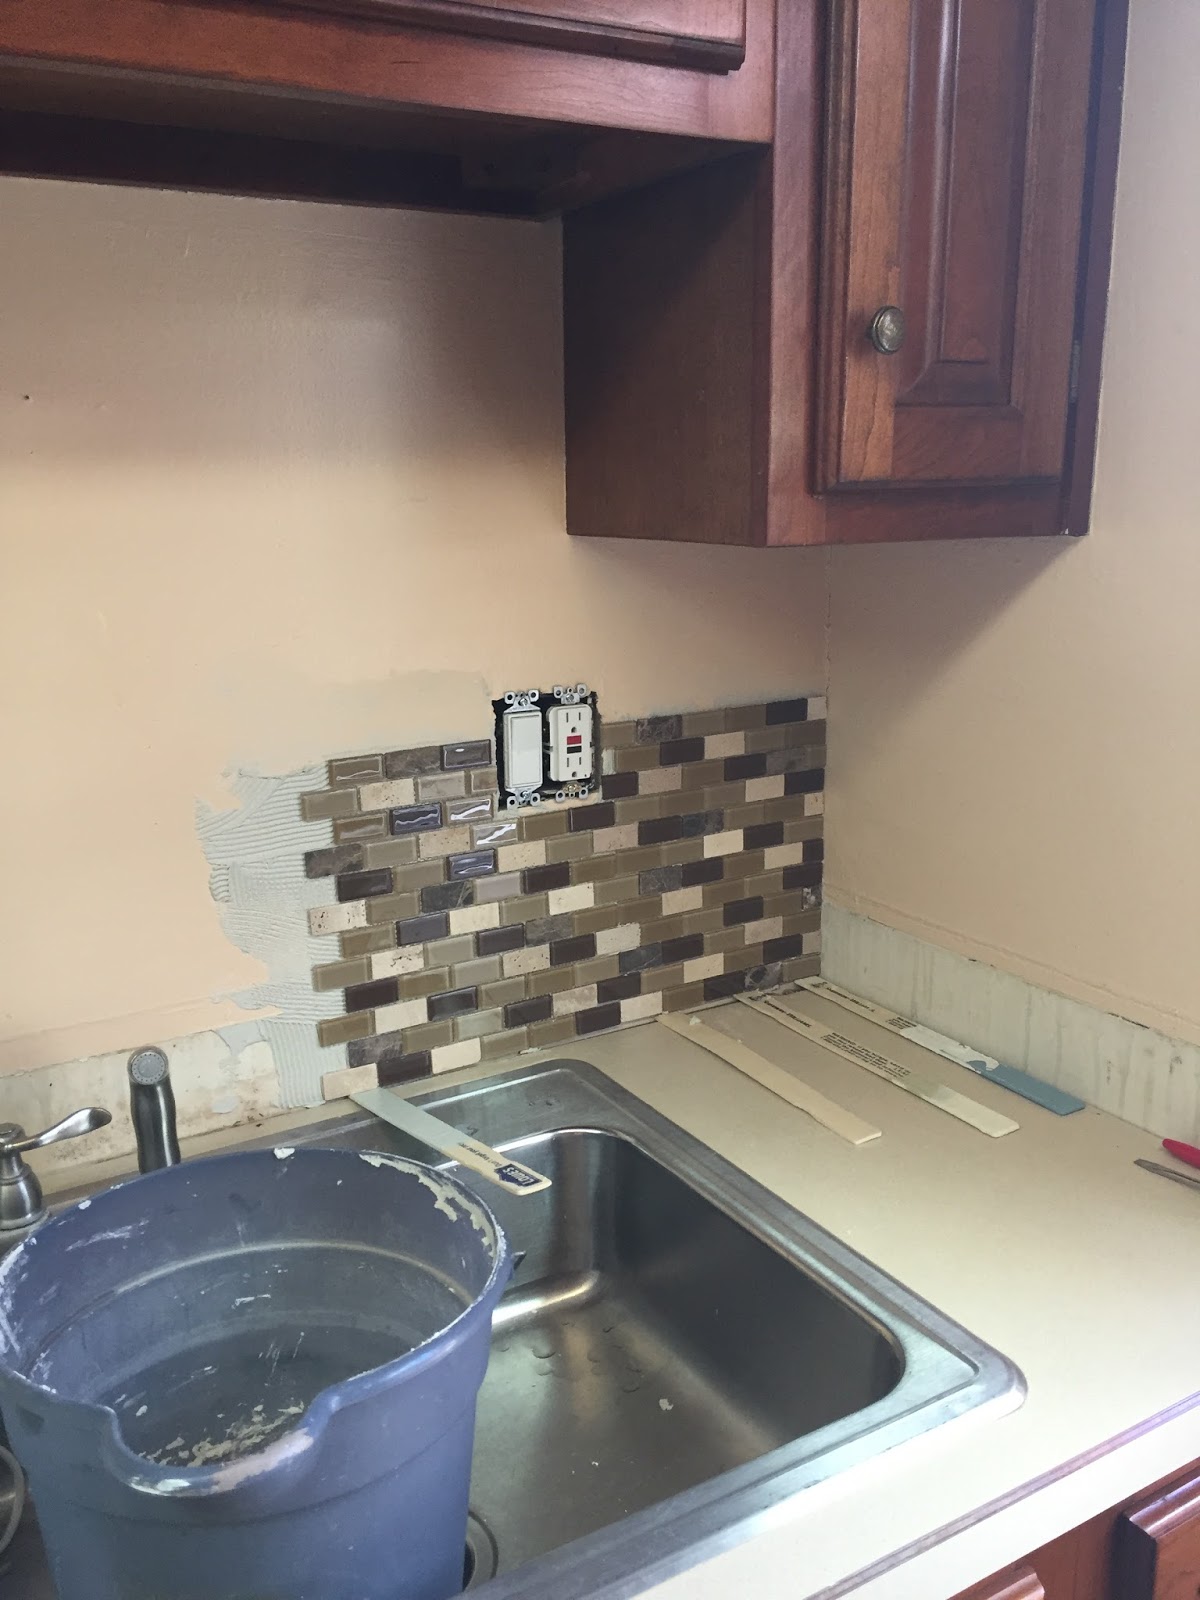
When we bought this house, I liked the cabinets, but the countertop was not my favorite. It was a plain laminate that just did not do justice to the quality of the cabinets. However, after living with it for a few years, it didn't bother me nearly as much anymore. I did start to notice an issue though behind the sink with water getting under the counter and the little laminate backsplash. Something needed to be done. I thought about it for a long time, and I decided to leave the countertop, but take off the backsplash and install a tile backsplash.
I'm going to lay it all out there and show you my kitchen in all of its useful kitchen glory. I try and try to keep it all picked up and clean, but it's the most used room in the house and it's just not that large. Plus, I think that showing you the way that real people live is healthy for us all! Here it is...

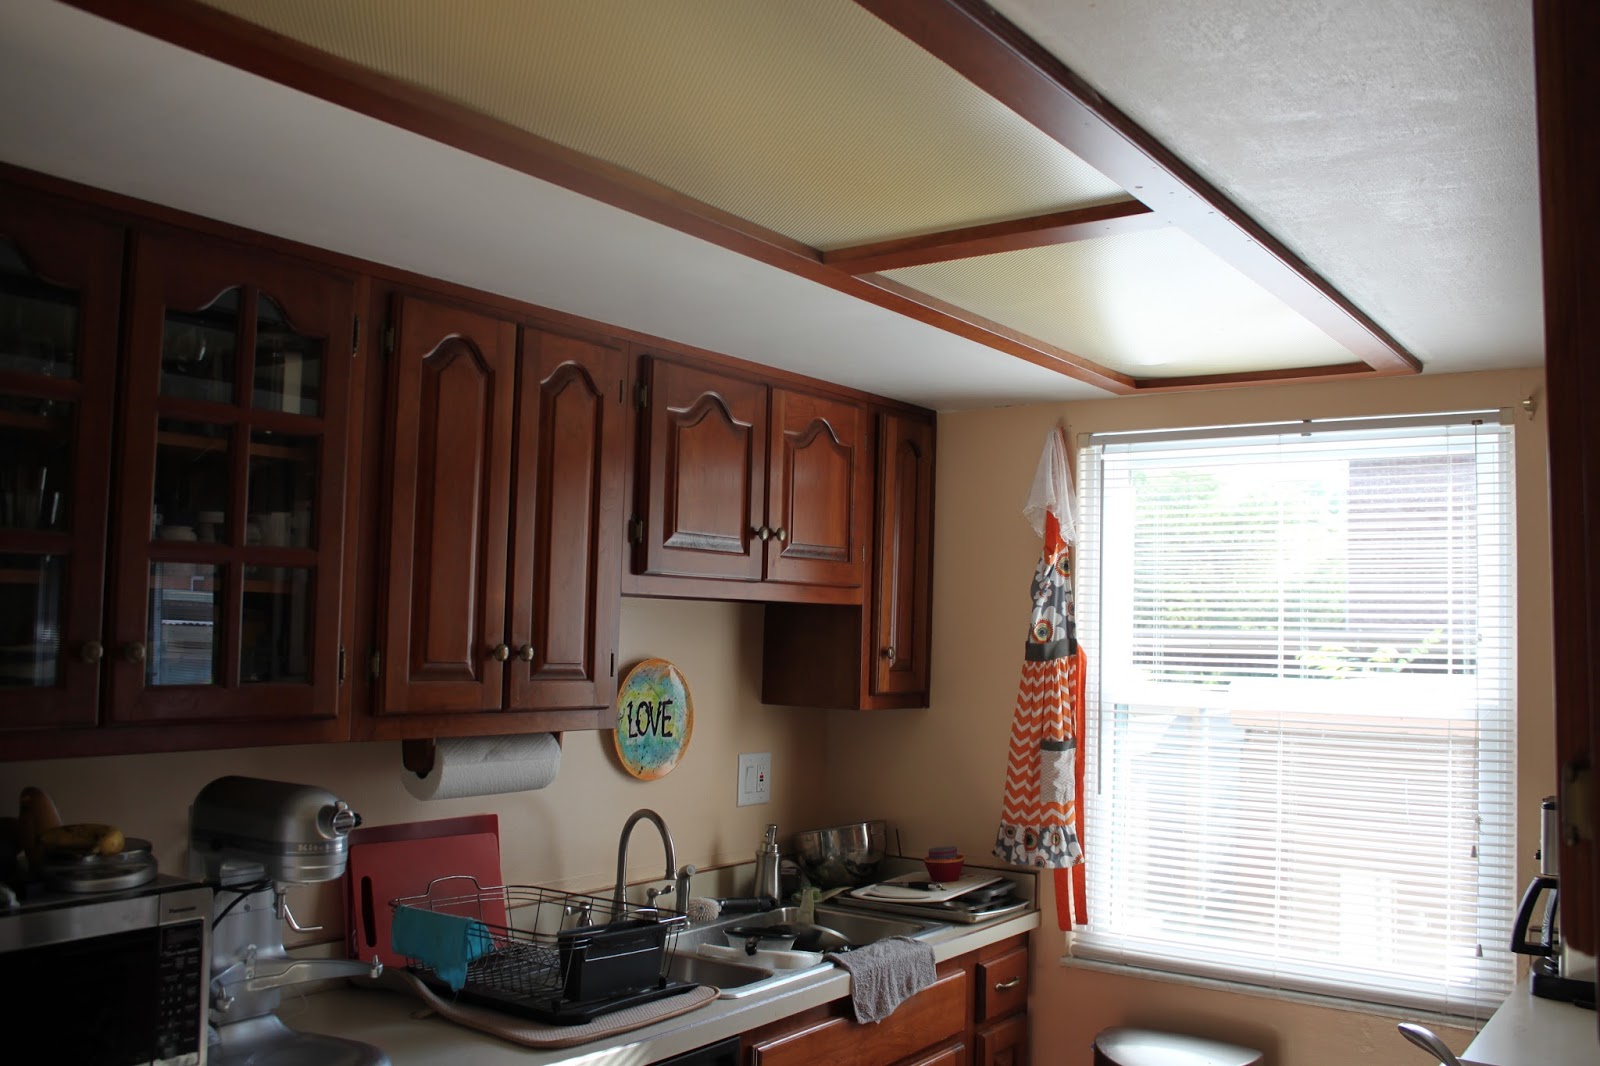
The lights are the next project on my list. Stay tuned!
As you can see here, they installed the counters all as one piece but then didn't seal it. So all of the water that splashed out of the sink leaked beneath and behind this little backsplash. It was starting to pull away from the wall.


I got the crowbar out and got to work. Joe helped a ton here because there were a bunch of screws left in the counter that he got out for me! You can see here just how much the water was doing damage.


I mean, Ew!!!


I made Joe take pictures of me at work to prove it was my project!
So, not to leave you hanging anymore, let me remind you what it started out looking like...
And after...


Ah! How lovely! We can just pretend for a minute that I don't cook or do dishes in here ever. :) I think it's the one small update that has made all of the difference in making this look like a fully updated kitchen. The good news in the end is that the wall is fully waterproofed too!
No comments:
Post a Comment